Creating this spring fairy garden has brought so much joy to me and my kids. The reason I created it was due to a particularly long school holiday and the kids were bored. Since the weather was rainy and cold, we couldn’t go out much. This prompted me to use our shaded balcony as the perfect spot for this project.
Jump to Recipe
This post is all about how to create a spring fairy garden.
For this project, I used existing spring and autumn decor. We had the fairies and the little houses already. The flower pots were all brought in from other areas of the garden and assembled together. The miniature animals, food and toys were mostly from the kids doll houses. (Some were bought for this project)
So here is how I made my own little enchanting fairy garden complete with pictures of the process.


Preparing the ground and creating height:
The first thing I did was clear out and sweep the floor. I then placed the background plants and pots. To create height, I used this Ikea stand and many upturned pots for varying heights. This creates a sort of landscape and interest.


Creating the second layer:
I then created the second layer for my fairy garden. This wooden ‘bridge’ is from the guinea pigs we used to have. I repurposed it to use as a bridge for the fairies. I added ivy and other plants to create the sense of a magical forest. Existing garden decor like this pelican birdbath was used to create interest in one corner.

Adding the spaces:
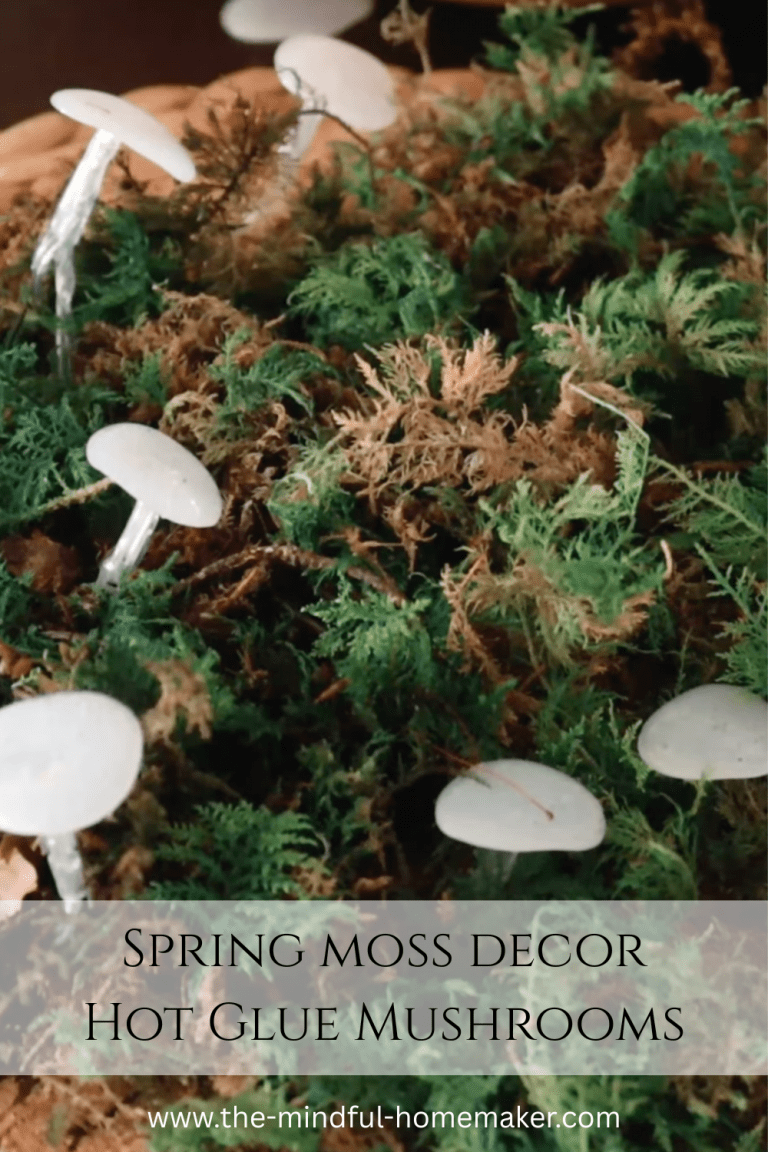
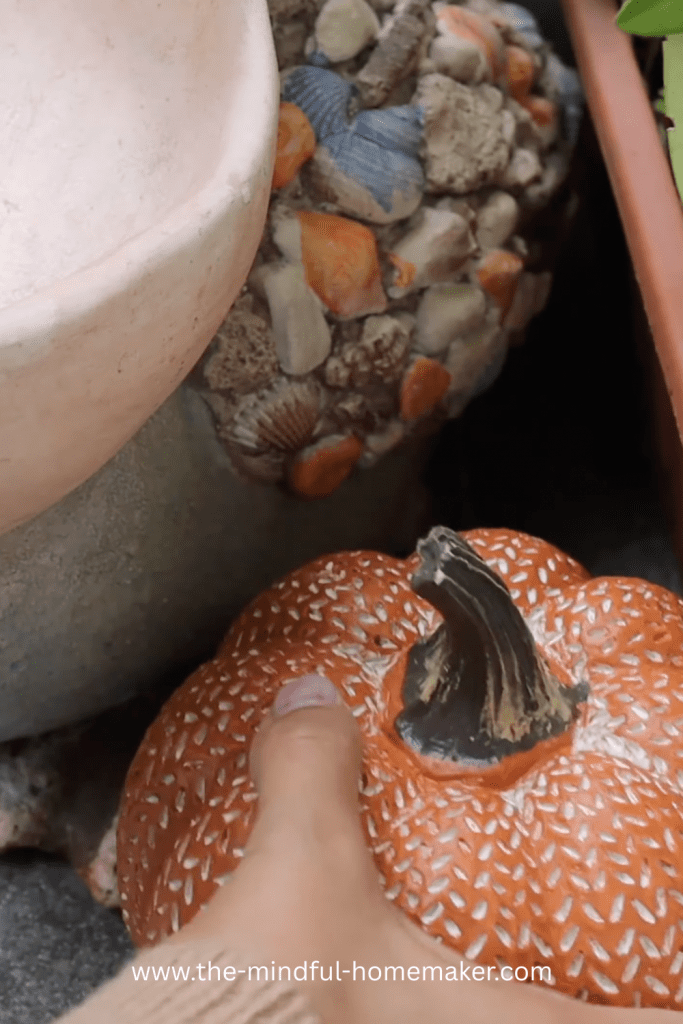
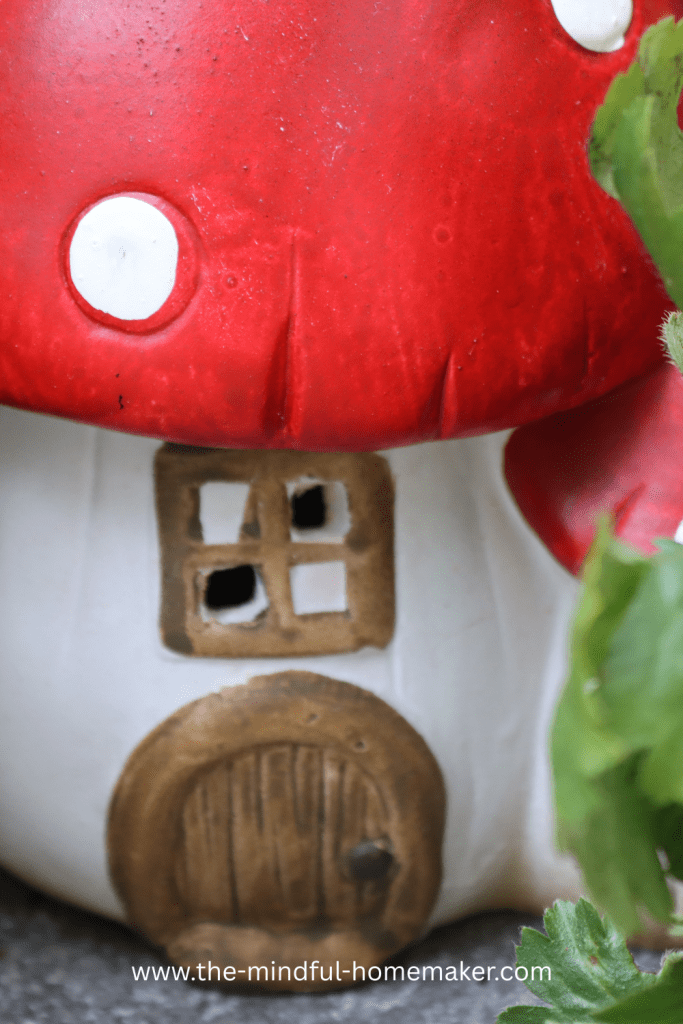
Next, I wanted to create little pockets of activities where I would later place the fairies. So I used this blue coaster as a decorative floor for a ‘party’. I placed ceramic pumpkins from our autumn decor to show sizing. This creates an element of wonder and enchantment. Finally, these mushroom houses were placed in ‘bald’ spots to make it look like a village scene.


The final touches:
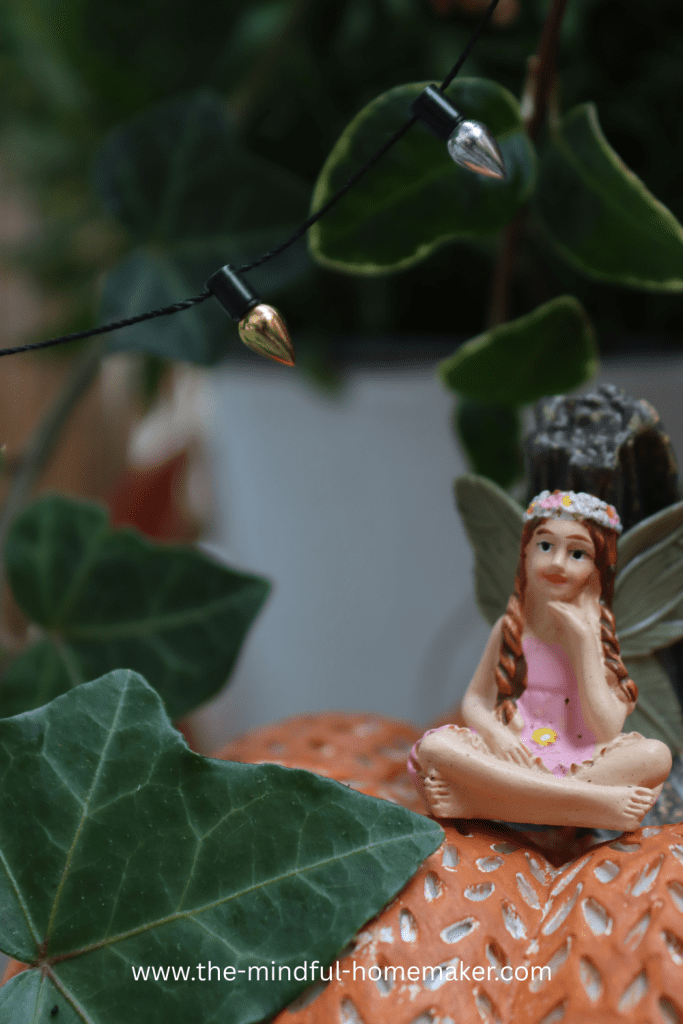
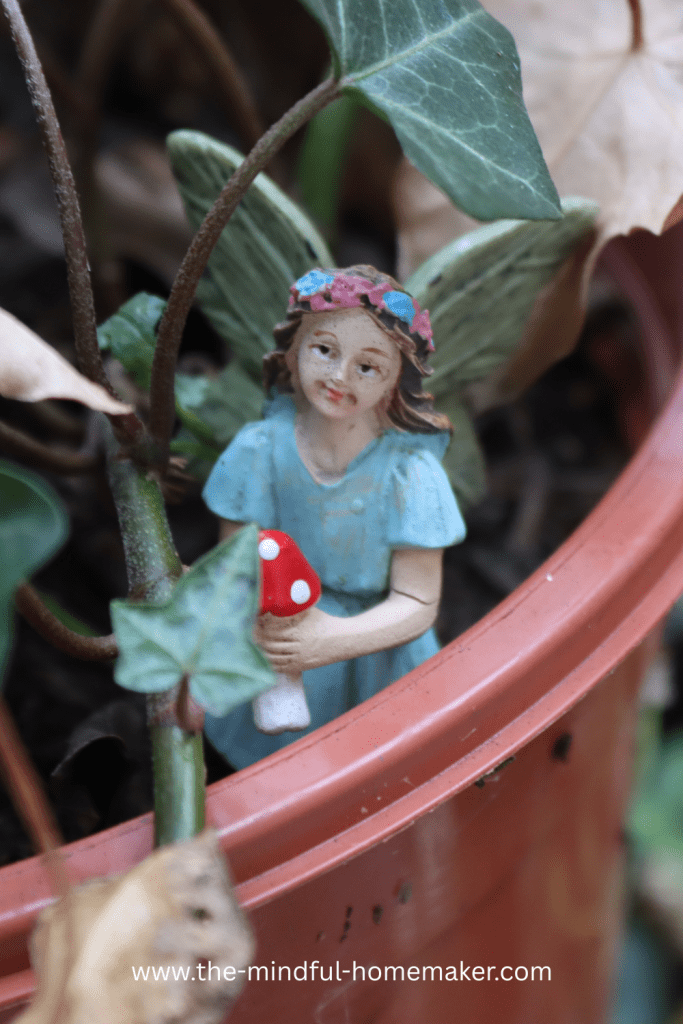
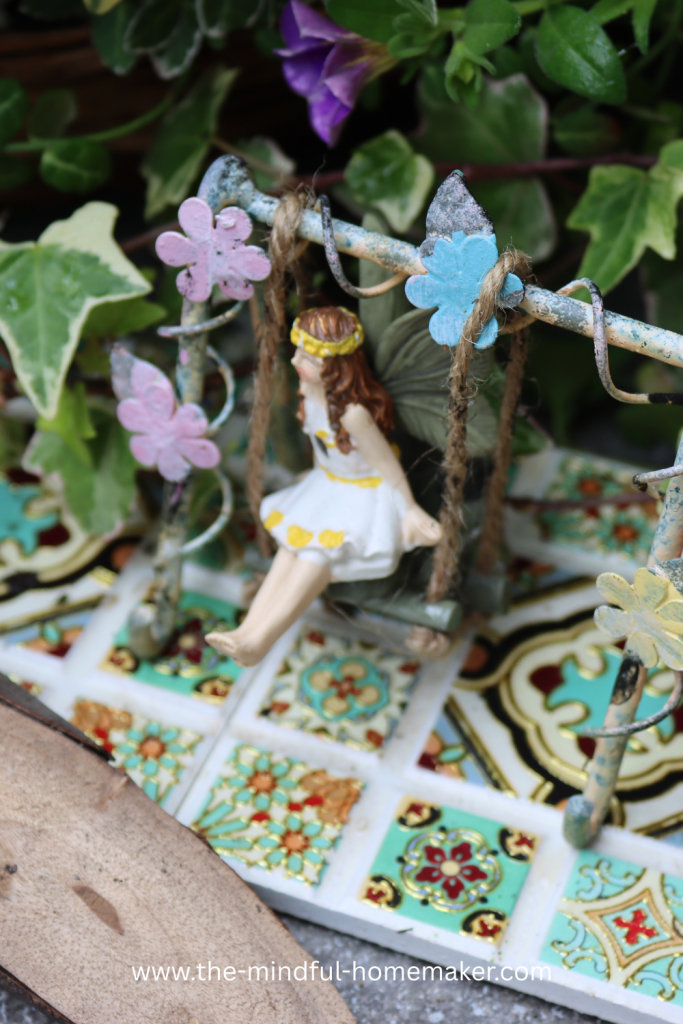
Next, I added all the main characters, including the animals. The fairies were placed in plants or on top of other decor. The trick was also to point the fairies in certain directions based on the expression and ‘pose’.
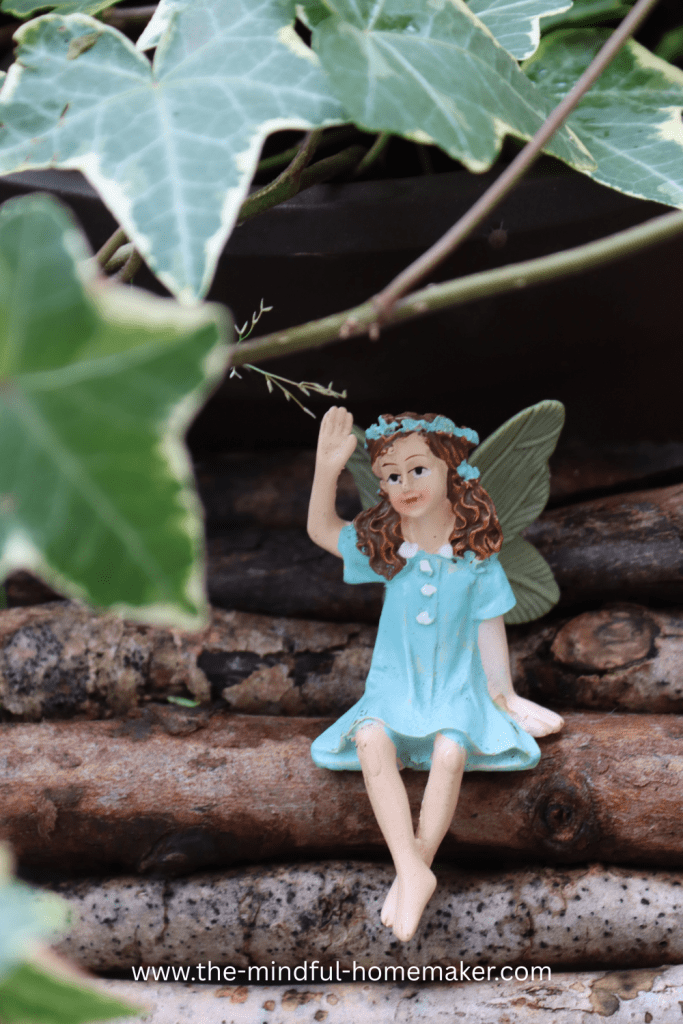
Like the fairy on the pumpkin looking at the miniature fairy lights. Or the one waving from her little wooden bridge.
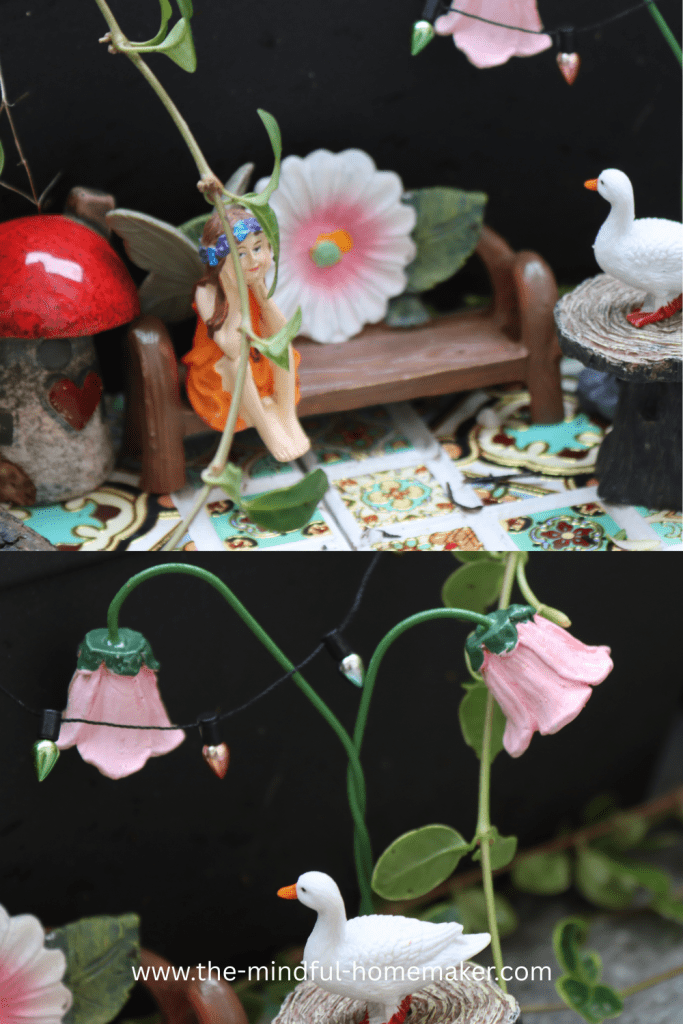
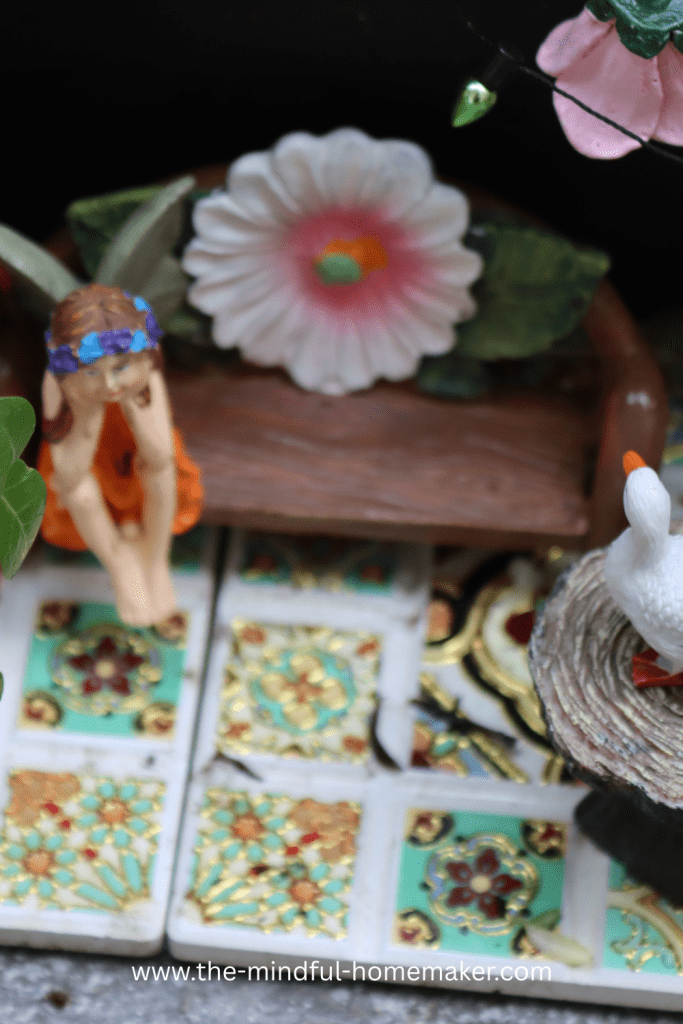
Creating an enchanted fairy garden takes a bit of planning. Try setting up little areas of interactions between animals and their fairy friends. Like in the below images, I wanted to show the relationship between wildlife and the fairies. Here, a little fairy sits in awe listening to the stories as narrated by the duck.
I placed decorative coasters as the ‘floor’ and added some benches and miniature fairy lights. A little table for the duck added depth and wonder to the scene.
I hope this DIY was informative and gave you fun and creative ideas to make your own spring fairy garden.
Below is a list of all the materials I used that I hope will be helpful to you.
Spring Fairy Garden
Equipment
- Ikea Crockery Organiser . I had an older one that I used to add height.
- Empty Planters and pots . These can be used to create height. Add plants on top.
- Lots of creeper plants like Ivy
- Flowering plants that had droopy leaves and vines.
- Small ceramic bowls . These were pretend bathtubs
- Garden birdbath
- Old pieces of wood to act like bridges
- A giant mushroom sculpture to add wonder.
Materials
- Miniature fairies. You can re use older frames.
- Ceramic gnomes
- Mushroom houses
- Miniature furniture from my kids dollhouses. (Some were bought)
- Miniature cooking and grocery items. Some were bought at a local craft store
- Decorative ceramic coasters. (Used to make pretty floors)
- Miniature animals
- Any small accessories that would add to a 'tea party' vibe.
Notes
If you gave this project a try, I’d love to hear your experienceof it. Leave me a line in the comments and I’ll get back to you as soon as I can.