
With Autumn just around the corner, this easy-to-make Autumn leaf garland is the perfect small and budget friendly project.
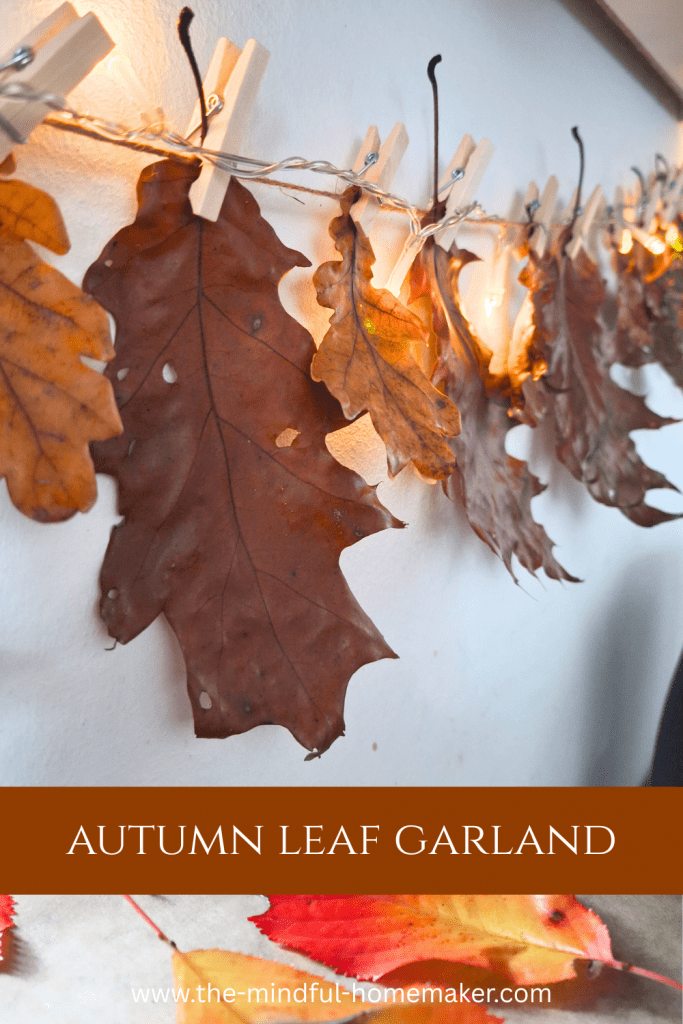
This post is all about an easy-to-make Autumn leaf garland.
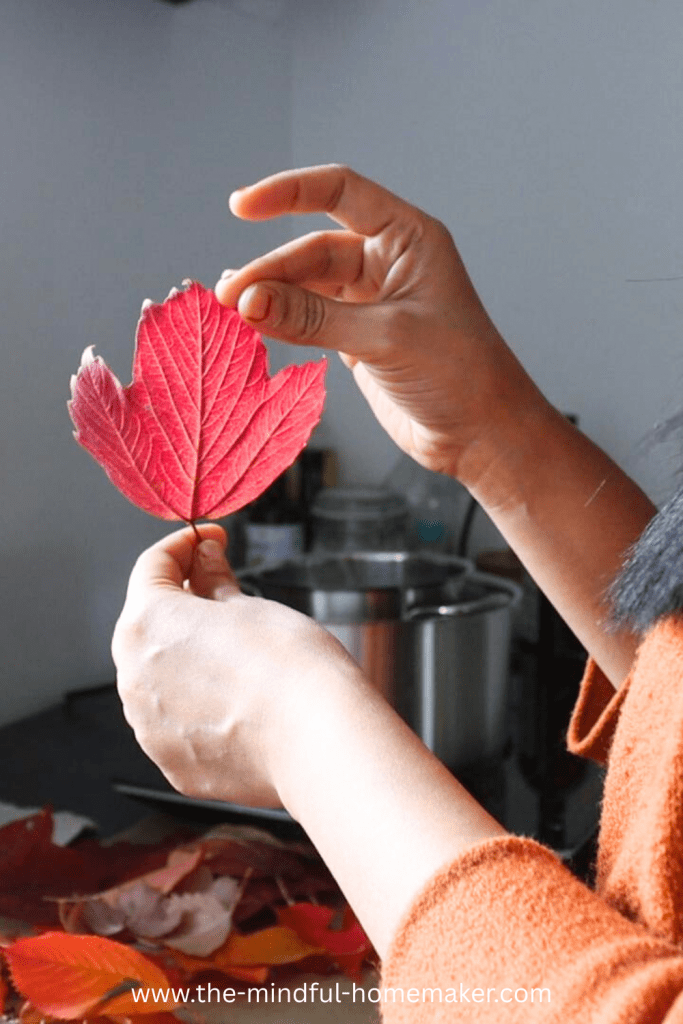
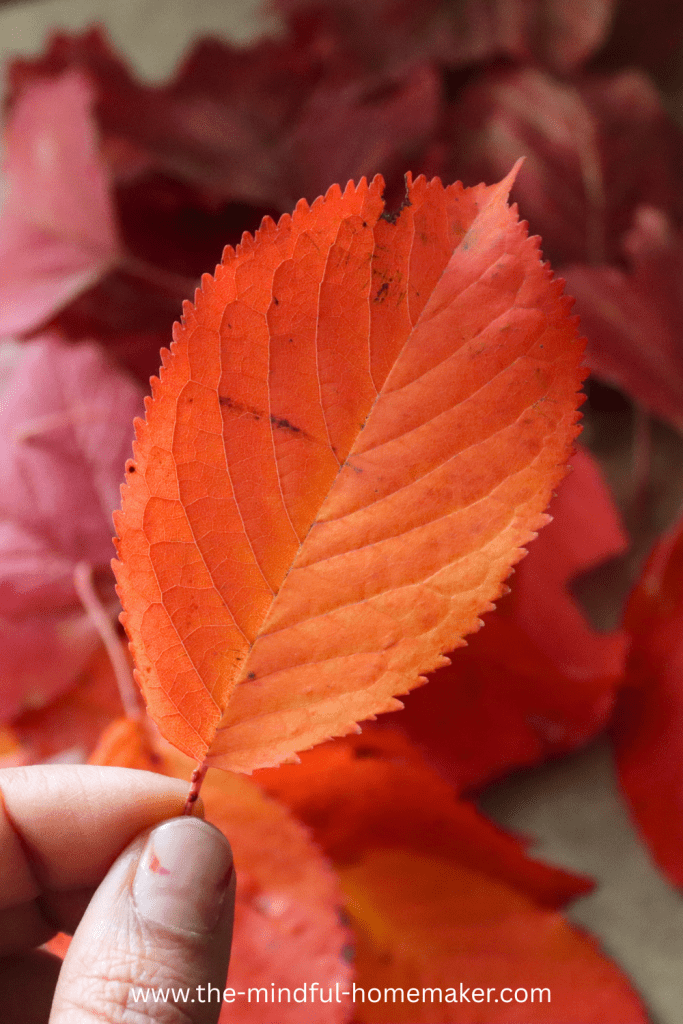
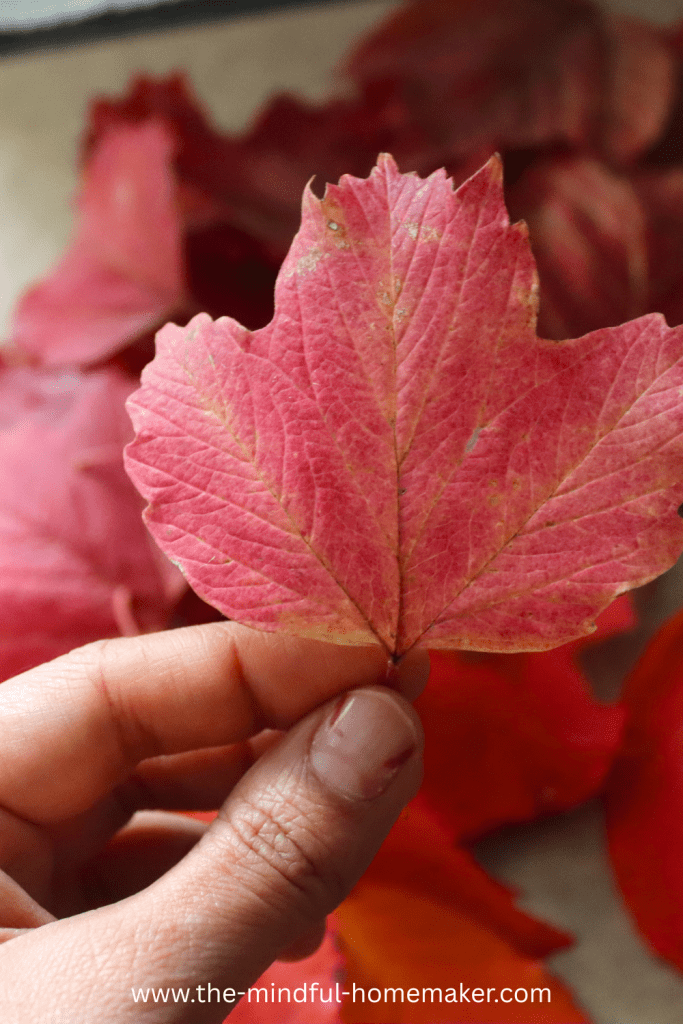
This project was so fun and calming to do. I gathered the leaves during one of our forest walks. Look for leaves that have retained their vibrant colours. The fewer blemishes, the better.
The best part about this project, is not just how affordable it is, but how long the leaves look ‘fresh’ due to the wax coating. Make sure you follow safety protocols to protect yourself from spilled hot wax. Burn injuries can be severe.
Love printables?
Join in to get access to all our newly released downloads and offers! Sign up to become part of a growing community of women!
5 Reasons you need to try this Autumn project
- Celebrating a new season: What better way to look forward to another change in season, than to celebrate it using its elements.
- Colour therapy: Secondly, Autumn days can often be rainy and gloomy for days at a stretch. Having these beautiful and bright leaves in various shapes can help lift the mood.
- Expressing creativity: Thirdly, finding new crafts and projects to do helps to unleash your creativity. This can also be a form of meditation, where one is focussed on a particular creative task.
- Healthy walks: Sourcing the base materials for this project, will most definitely take you into local parks or forest trails. The fresh air and change of pace and scene are a huge health boost!
- Happiness: Simply put, the combination of the above four reasons is enough to make anyone happy. Spending time in nature, collecting little bits of colour, bringing them home and ‘playing’ with them is simple happiness.
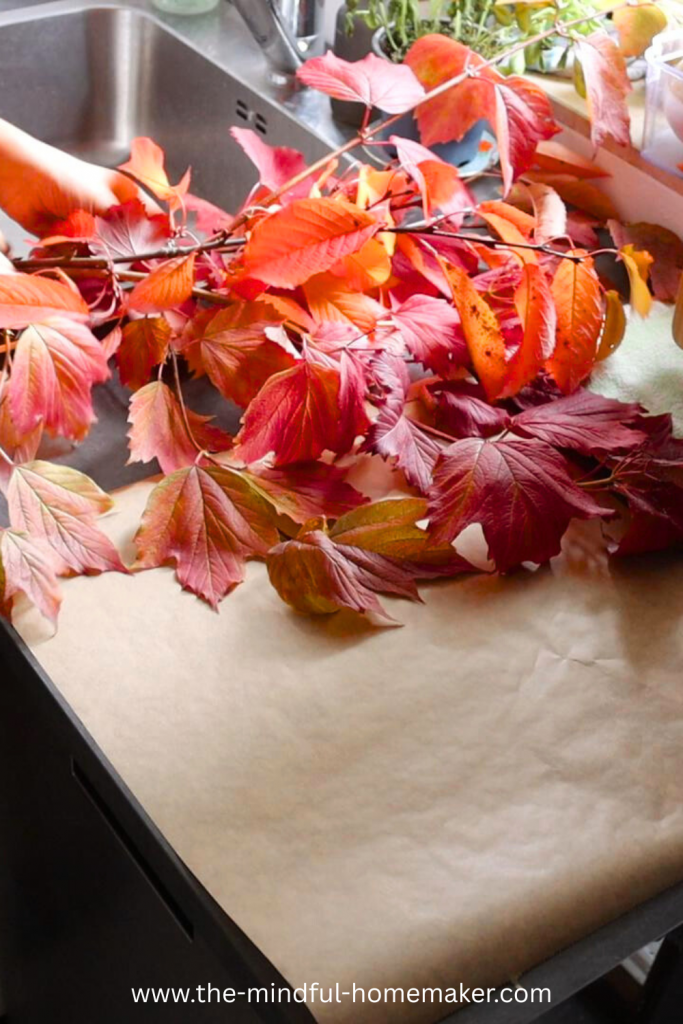

Don’t be afraid to try your own twist on this project. Additionally, this project also works for wreaths. Simply layer the wax-coated leaves around a wreath frame with dried berries.
If you haven’t signed up for our newsletter then fill in the form below to receive updates about new blog posts and free printables.
Love printables?
Join in to get access to all our newly released downloads and offers! Sign up to become part of a growing community of women!
You don’t need fancy equipment for this project. You can create a double boiler by placing a smaller pot into a larger one.
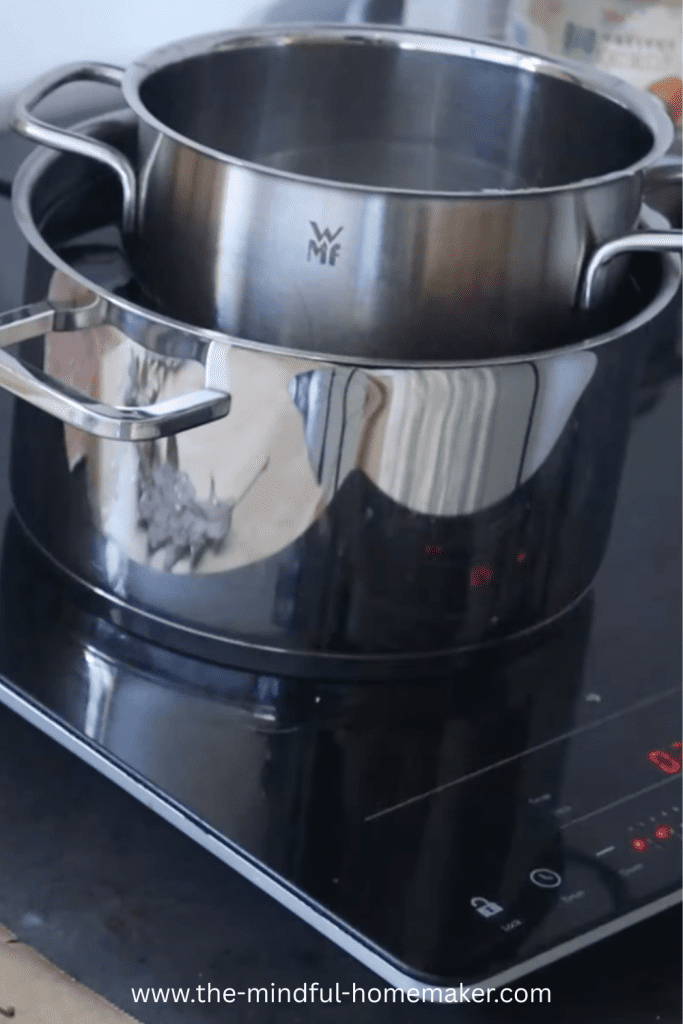
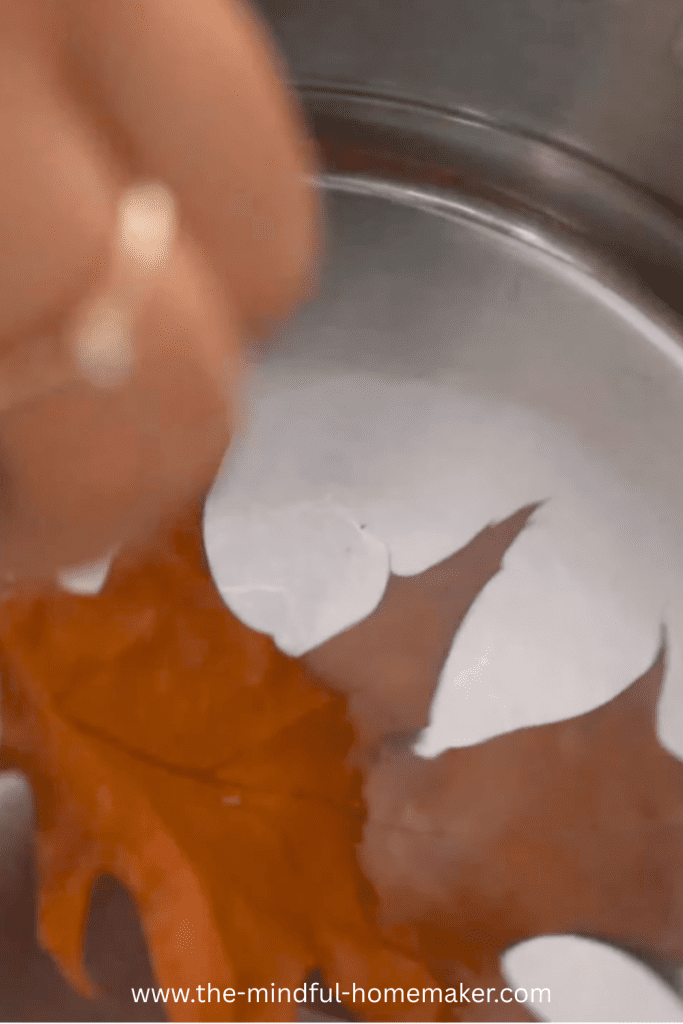
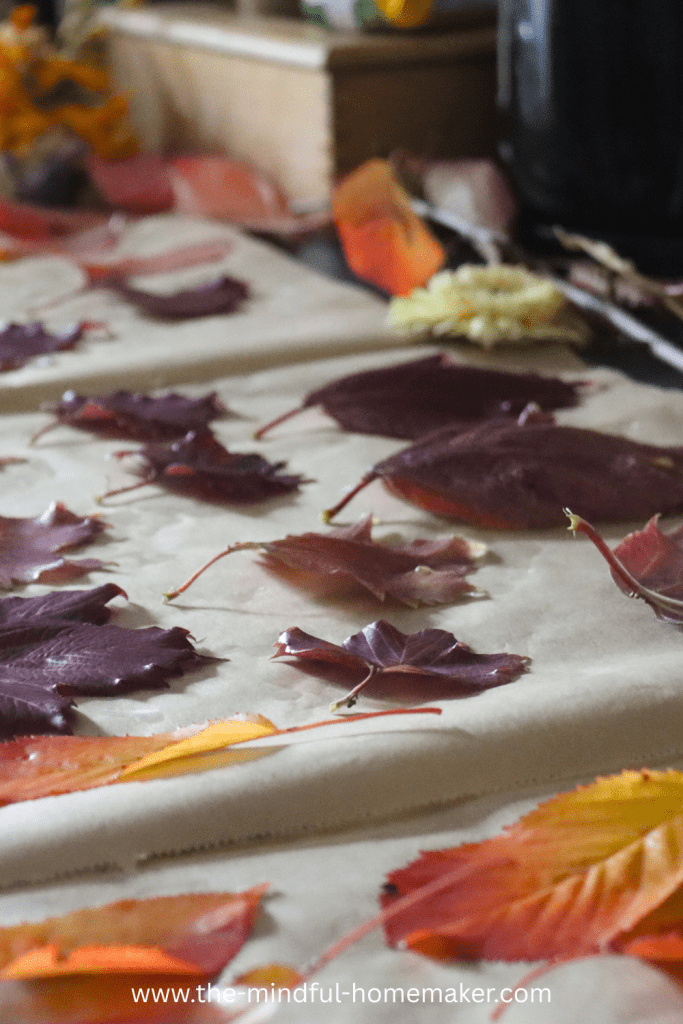
I used regular baking paper, on top of my kitchen counters to dry the leaves. I also used wooden craft pegs to add them to jute twine.
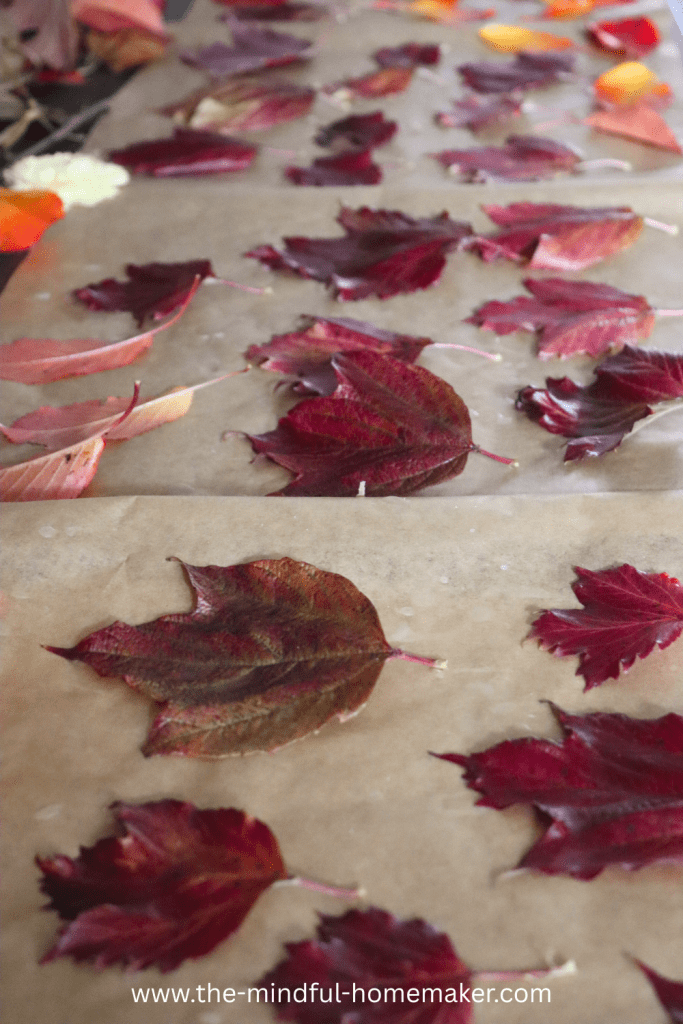
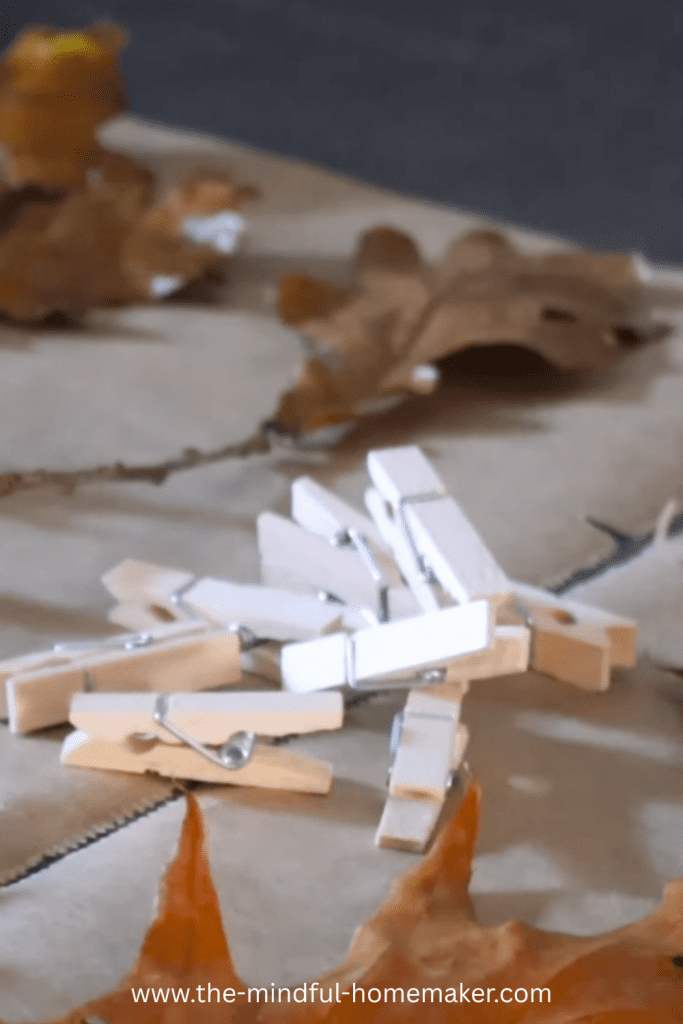
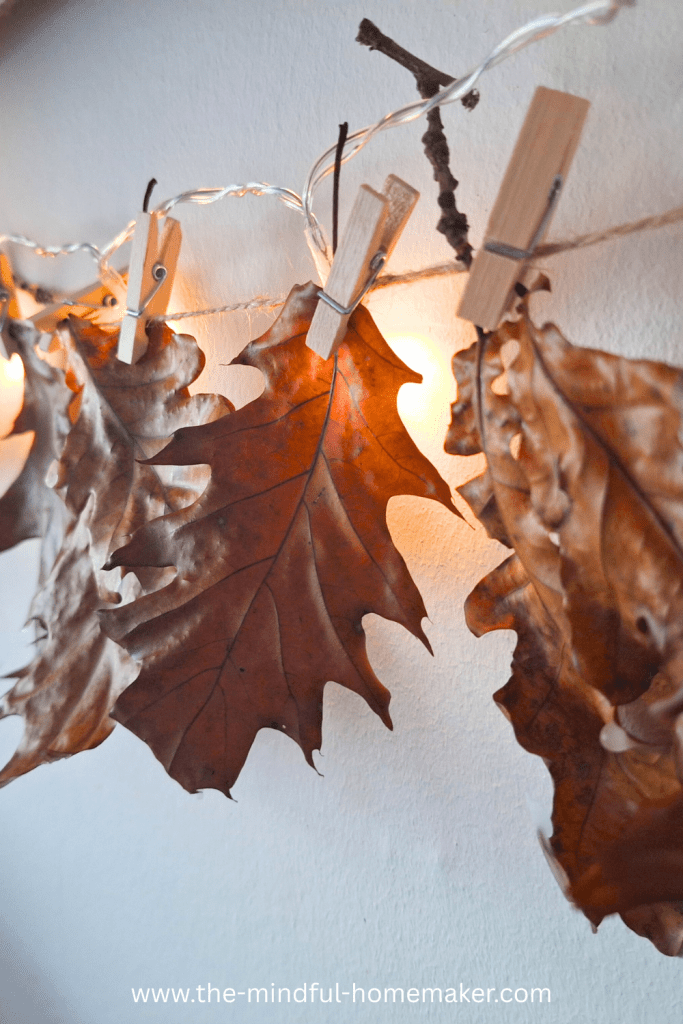
The full instructions and video are linked down below.

Autumn Leaf Garland
Equipment
- 1 Big Pot for boiling water
- 1 Smaller Pot for heating the wax
- Stove
- Fairy lights as long as the garland you wish to make
Materials
- 2 cups Paraffin Wax You can also use Soy or Beeswax
- 1 piece Baking Paper
- Autumn Leaves with the stems the amount depends entirely on how long you want the garland.
- wooden clothespins small ones from the craft store
- Jute String
Instructions
Melting the Wax:
- Fill the larger pot halfway with water.
- Bring to a simmer.
- Add the wax to the smaller pot.
- Place the smaller pot gently into the larger one to make a double boiler.
- Let the wax melt slowly. Do not raise the heat.
Preparing the Leaves:
- While the wax melts, sort throught the leaves to find dry, clean and if possible blemish free ones.
- Prepare and lay out the ones you plan to use.
The Process:
- Once the wax melts, very carefully hold each individual leaf by it's stem and dip it into the wax.
- This step must be done very carefully and gently as we are working with hot wax. Wear gloves as an added measure.
- As you dip each individual leaf into the wax, lay it out on a baking paper to cool.
- Repeat the process until all the leaves have been dipped in wax.
Assembling the Garland:
- Once the leaves have cooled, you can proceed with making the garland.
- Use a Jute string to keep the natural aestheic. Secure the string first.
- Attach the leaves one by one using small wooden clothes pin.
- Once the leaves are attached to the string, secure the fairy lights to the garland.
If you tried this DIY, don’t forget to leave a comment with your thoughts and experience. If you have any tips to add to this, I’d love to hear them!